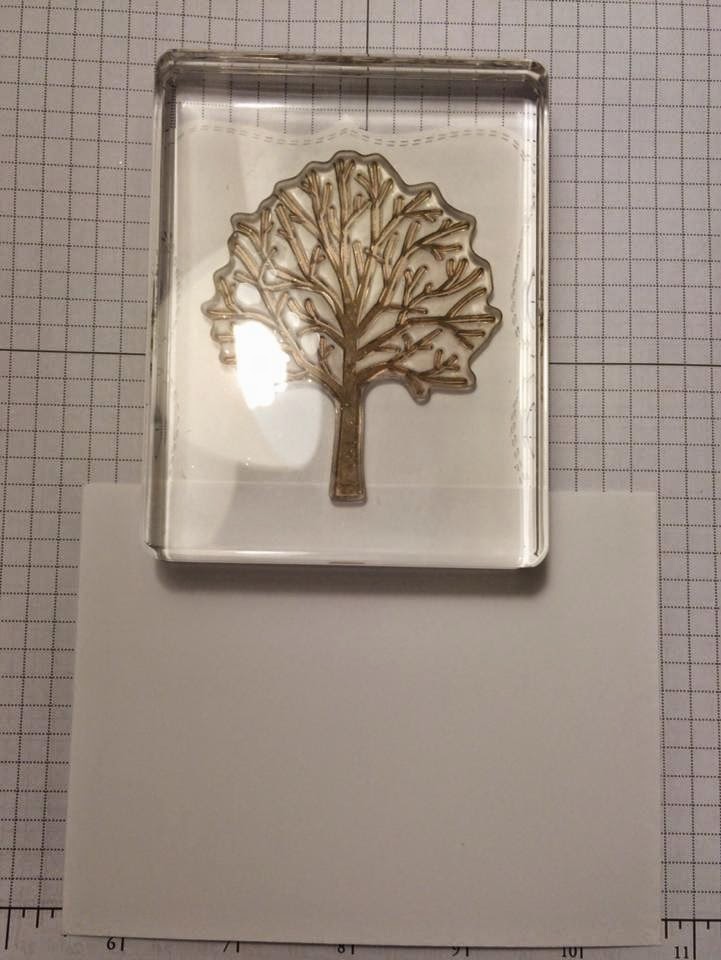
I finally got myself up in the craft loft to get the March Sheltering Tree card kits together. I think this has been one of my most favorite kits so far!! I decided to do one card for each of the four seasons. Today I will share the summer and fall cards.
SUMMER:
Stamps: Sheltering Tree (Occasions Mini Catalog), Hardwood BG
Paper: Daffodil Delight, Crumb Cake, Whisper White, Wild Wasabi DSP
Accessories: Top Note die, Daffodil Seam Binding
Kit Includes:
One Daffodil Delight card base
One Crumb Cake card front
One Whisper White Top Note die-cut
One Wild Wasabi Top Note piece
One Whisper White strip
One Daffodil Delight Seam Binding piece
Instructions:
Using your Hardwood BG stamp with Baked Brown Sugar ink (or any lighter brown ink like Soft Suede or Crumb Cake) stamp onto the Crumb Cake card front. Adhere the card front to the Daffodil card base.
Adhere the Wild Wasabi piece onto the bottom of the Whisper White Top Note cutout. Using an extra piece of any card stock you have on hand, cover up the Wild Wasabi DSP while you stamp your tree and flower stem images.
I used Baked Brown Sugar ink to stamp my tree trunk and Wild Wasabi ink to stamp my flower stems. Stamp as many flower stems as you would like. After stamping the trunk and stems, you can remove the cover piece of card stock.
I used Wild Wasabi ink to stamp the "leaves" on the tree. I inked up my image once, and then stamped it twice. Moving it slightly up the second time, to get more leaves, but with a slightly lighter hue. After stamping the leaves, add your daffodil flowers using Daffodil Delight ink or any yellow ink you already have. If you position you flower stamp just so, it will perfectly line up with the stems. You may want to practice on your grid paper first. Stamp the swing using Early Espresso.
Stamp your sentiment on the Whisper White strip using Baked Brown Sugar ink. Adhere to the bottom of your Crumb Cake card front. Remember... if you mess up while stamping anything, you can always turn it over and try again. :)
Adhere you Top Note tree image using Dimensionals. Tie your Daffodil Delight seam binding. First card DONE!!
FALL:
Stamps: Sheltering Tree, Hardwood BG
Paper: Cajun Craze, Crumb Cake, Very Vanilla, Hello Honey
Accessories: Woodgrain EF, Twill Ribbon, Deco Label Framelits, Gold Baker's Twine, Button (retired)
Kit Includes:
One Cajun Craze card base
One Crumb Cake card front
One Very Vanilla Deco Label cut-out
One Cajun Craze embossed piece
One Hello Honey sentiment tag
One Twill Ribbon piece
One Gold Baker's Twine piece
One button
Using Baked Brown Sugar ink, stamp your Hardwood BG stamp onto the Crumb Cake card front. Adhere it to the Cajun Craze card base. Glue the Cajun Craze embossed piece to your card front, leaving enough room on the left side for your ribbon.
Using Baked Brown Sugar ink, stamp the tree trunk image to the left of center on your Very Vanilla Deco Label cut-out. Using Hello Honey Ink (or Crushed Curry) stamp "leaves" on your tree (do this only once, not twice like the top card). Also use your Hello Honey ink to stamp the "swoosh" (for lack of a better description) under your tree.
Using Cajun Craze ink (or any rusty color you have) use the "flower" image (the one you used on the top card to make the daffodils) to add a few leaves to your tree and also under your tree. Use Early Espresso ink to stamp the rake. Stamp your sentiment using Baked Brown Sugar ink.
Using Dimensionals, adhere your stamped tree image onto the embossed Cajun Craze piece. Attach your sentiment using a Dimensional at one end (the end that will touch the Crumb Cake card front) and a Glue Dot at the other end (the end that will be on your tree image).
Tie the Baker's Twine through the button into a bow. Trim off any excess. Adhere button with a Glue Dot. Tie Twill ribbon. DONE!!!
I hope you all enjoy making your cards as much as I did!!!
PS... Both of these cards were inspired by cards that I saw on the web. True confession: I'm a CASEr!! :)
For more stamping fun, follow me on:
Pinterest: Krystal's Card - Stampin' Up!
Instagram: krystals_cards
Thanks for stopping by!
STAMP SOMETHING!
Krystal


No comments:
Post a Comment